Showing posts with label Sega CD Model 2. Show all posts

Friday, January 04, 2019

Sega CD Model 2 Repair Log (Revisited)


A while ago I wrote about firing up my Sega CD Model 2 and finding that it did not work.  Not only did it not work, but it was broken in more than one way.

To recap, first discs were making a terrible scraping noise and getting rings scratched into them.

I discovered that this was due to the shock dampers having cracked and collapsed.

Page 11 of the Service Manual courtesy of the Console5 Tech Wiki


The dampers deteriorated with time and use.

When the shock dampers fail like this, the CD drive sits too low and the discs will scrape the tray as it tries to spin the disc.

My first solution was to add some home-made washers to prop up the collapsed dampers.  While this did work, it had two major problems.  Firstly, with the CD drive rigged like this, the CD spindle was not properly level.  While the magnetic clamp holds the disc in place anyway, it seemed like being off balance like that might be putting extra wear on the spindle motor.

As far as I can tell, direct replacements for these "Rubber Dampers" are no longer made.  After at least a dozen hours of searching off and on I finally found a substitute part that seems to work pretty well.

Based on rough measurements of the original part this was the closest substitute I could find anywhere on the web.


At first glance they do appear quite different, but the inner diameter and the neck are pretty close.  There were a lot of other similar "damper balls" but most of them had too wide a neck or the wrong inner diameter.  Although the original part has a much wider outer diameter, the outer diameter doesn't really make much difference.  As far as support, the original part is hollow whereas the substitute I found is solid and actually a bit sturdier.

The original part is installed by slotting the damper into the CD drive assembly, then lowering the drive assembly onto the pikes.  The substitute part will ride too high if installed in the same way as the original.

One small issue with the substitute part is that the inner diameter is a single size, whereas the original damper has a larger opening on the bottom to match the two different diameters of the pike.  If you try to just drop the new dampers in like the originals, the CD drive will end up riding too high.  Fortunately the different dimensions of the new part mean that there's an alternative method of installation.


With the substitute, it's necessary to install the dampers onto the pikes first, then use downward twisting motion to stretch them over the lower portion of the shaft as shown here:


With all four dampers in place and pushed down, you can lower the CD drive onto the pikes, then push down.  The top ring of the new dampers are small enough that they should be able to push through with a little gentle encouragement from a pair of tweezers.


With the new dampers installed, you should be able to re-assemble the shell.

The red arrows show where there should be height differences.  The CD drive shield should sit about half-way between the disc well and the back edge of the tray.

With all six screws back in place, inspect the height of the CD drive shield.  It should be raised above the disc well.  There should also be a gap between the CD drive shield and the back of the disc well.

To make sure everything came out level and balanced, connect the Sega CD to a Genesis, power it on and put a disc in (you might want to test with something unimportant or easily replaceable first).  Wait until you hear the drive spin up, then open the lid while the disc is spinning.  If everything went well, the disc should continue spin levelly without any wobble.


The next issue I had to re-visit is the grinding noise during seek operations.  Sometimes this is a momentary buzz, others it's a constant noise that won't stop until you power the unit off.  This happens because the limit switch for the "home" position of the laser pickup is not correctly registering the end of travel.  You'll probably find half a dozen guides online of people describing gently bending the limit switch back toward the pickup.  While this did work for me, it wound up only being temporary - after a few hours it was right back to doing it again.  The problem is, I believe, that the drive likes to park the laser pickup in the home position which causes it to push against the limit switch for extended periods of time.  After a while the switch just bends into the shape of being pushed back.

The best solution I found was to wedge a tube of heat-shrink tubing behind the limit switch to provide a small amount of constant forward pressure.


With this fix in place the system has been working normally.  Time will tell if it continues to help.  A good game to test this with is Heart of the Alien - the drive always seeks to home when it goes to the continue/password entry screen.  

Tuesday, March 27, 2018

Sega CD Model 2 Repair Notes

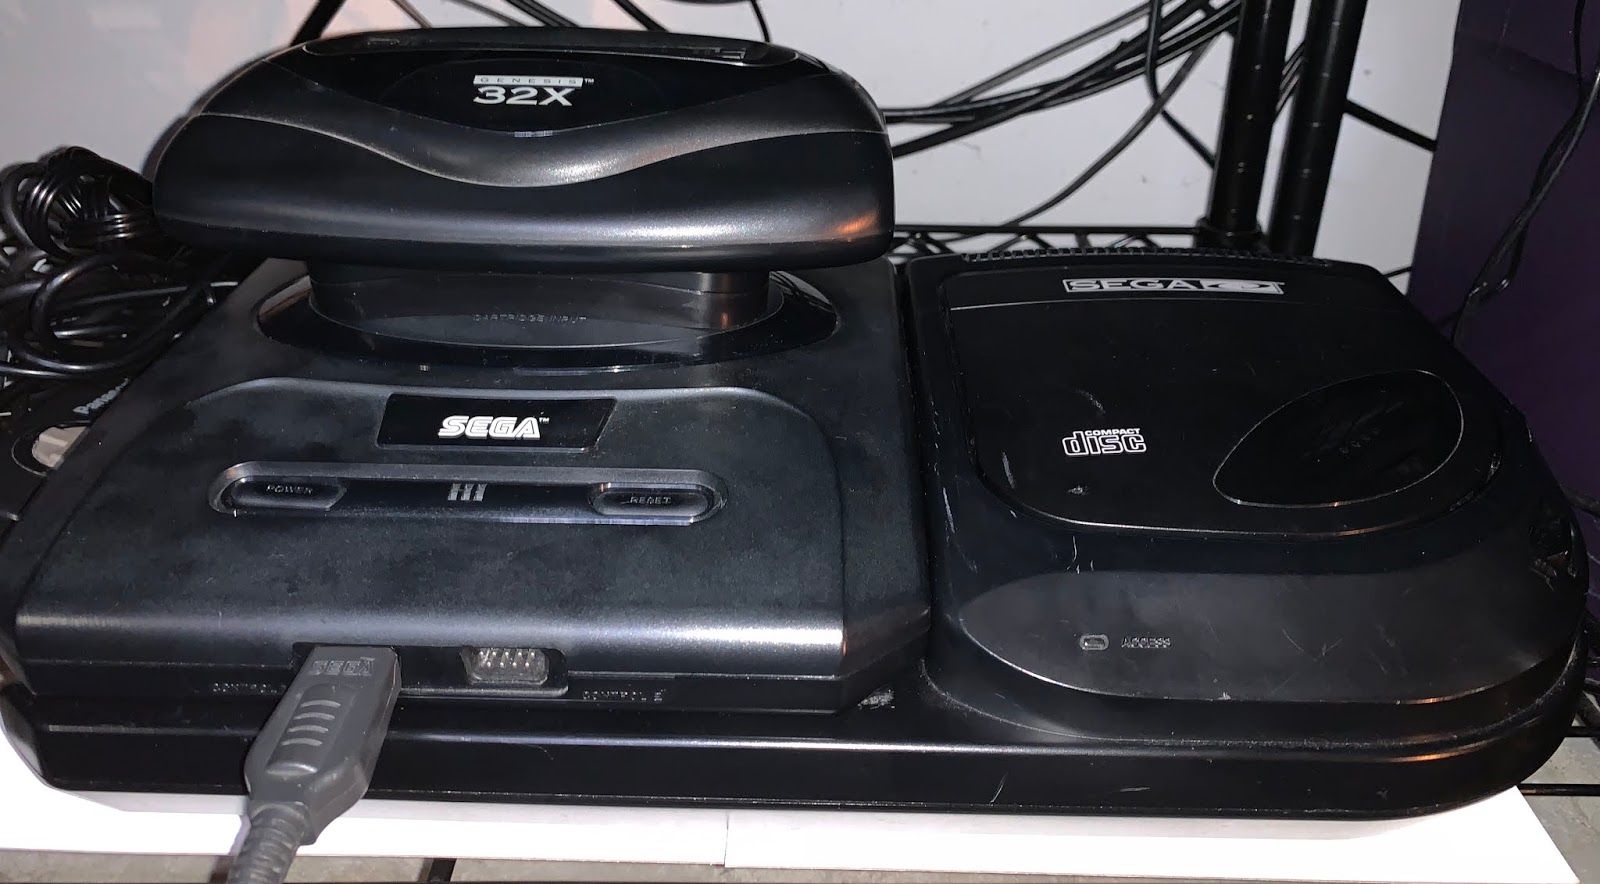
From time to time I like to fire up my disc based systems to keep the grease viscous and make sure everything is in good working order.  Well last night I fired up my Model 2 Sega CD and discovered that all was not well.

The disk tried to spin up and this horrible grinding and scraping noise came from the drive.  After several attempts the disk finally loaded, but it was painful and I shut it off immediately to prevent damage.  I managed to do some damage getting the silly thing apart, but everything is back in working order now.

Problem: Grinding

The grinding noise from a Sega CD Model 2 is evidently a pretty common issue.  There's a laser limit switch which the system uses to tell that the laser assembly has reached the center of the CD spindle.  Over time this switch stops working as desired.  The switch is essentially just two thin strips of copper inside a plastic shell.  When the sled touches the switch, the two strips are supposed to make contact and inform the mechanism to stop the motor.  Most people seem to think this switch gets bent out of shape from repeated use, and they will gently "bend" it back into place so it begins working again.  While that definitely works, I believe oxidation is also a factor, so I also used a pipette to drop a dab of Deoxit into the switch for good measure. 

Solution

Gently bending the limit switch "forward" for a few seconds and applying a drop of Deoxit cured the grinding problem.


Problem: Scraping

After I got everything back together and got the drive spinning again, I noticed there was a persistent scraping/scuffing noise.  At first I thought this was some issue with the magnetic clamp on the drive door.  (There's a circular magnet on the door which helps to lock the CD in place when the door is closed).  With the top of the CD unit removed and the magnetic clamp attached independent of the door, everything seemed to work normally, however when I reassembled it, the scraping persisted.  I eventually noticed that if I held the unit upside down while it was reading the disc, that the noise disappeared.  Upon closer examination, the CD drive landing was almost flush with the disc well.  This was causing the disc to scrape the well.  I noticed too late it was scratching the disc - my copy of Ecco Tides of Time now has a ring scratched in it :( It was also causing the magnetic clamp to scrape inside its assembly.  The problem was caused by the four rubber shock dampening grommets that hold the CD drive in place.  They were simply too old and had mostly collapsed, causing the CD assembly to sit too low.  Since I could not find replacements for them, I did the next best thing and rigged it.  

Solution

I cut some crude plastic washers out of some large heat shrink tubing and placed them on top of each of the four shafts that hold the drive in place.  This gave the collapsed rubber grommets enough support to lift the drive correctly. When it was reassembled the drive plane was now sitting about 2mm above the disc well, giving the disc plenty of clearance to spin freely.  In hindsight, I think leaving a disc in the drive may have contributed to the collapse of the original grommets, so I would recommend leaving the disc drive empty when not in use.


Problem: Door Switch

I'm not sure if this one is self-inflicted or not, but when I got everything apart, the door switch was twisted.  My recommendation here is to always take the top of the unit off with the door open.  Doing so with the door closed means that the top is contacting the door switch as you're working it off.  The reason I'm not sure if I did this was because the bend looked old, if that makes any sense.  

Solution

I ended up removing the clear plastic cover of the door switch and gently bending everything back into place. (To remove the cover you need to use a thin tool like a small screwdriver shaft to press the back of the cover forward while you pull it up away from the board).  It took quite a lot of trial and error to get it bent back to working normally again, so, like I said, always take the top off with the door open.


Problem: The System says "Checking Disk" but the drive is lifeless

This happened sort of in the middle of all of the troubleshooting and taking apart and putting back together.  The short version of the story is that the "Checking Disk" message appears when the system cannot communicate with the drive.  About the only way to tell this is what's going on is that "Checking Disk" stays on the screen even when the door switch indicates that the drive door is open (so it shouldn't be checking anything).  It took me a little while to figure out what had happened, but the system was extremely dusty when I disassembled it.  Evidently a piece of fuzz had gotten into the connector and was preventing good contact.

Solution

I ended up blasting the ribbon connector slots on both the mainboard and the CD drive with Deoxit and allowing them to dry completely (about 5-10 minutes).  After reconnecting everything the system started telling me to close the drive door again - which meant it was talking to the CD drive again.